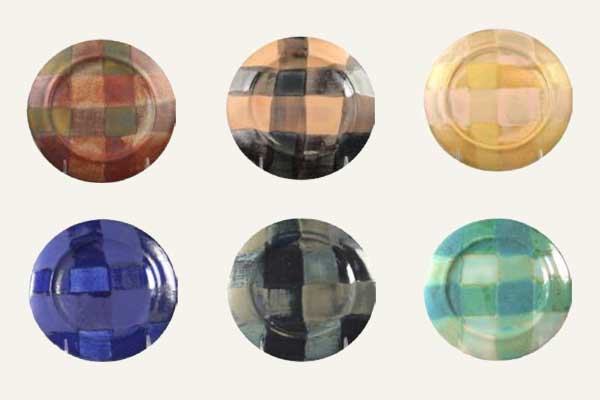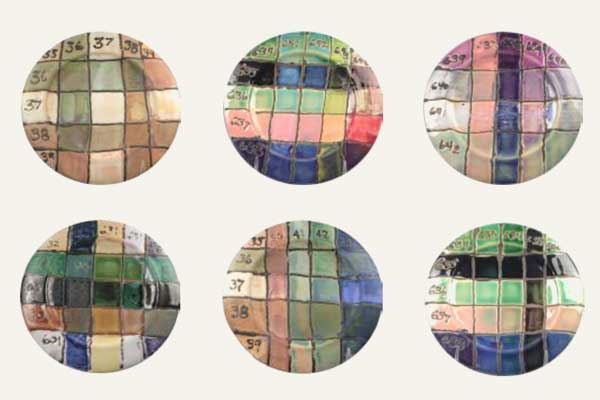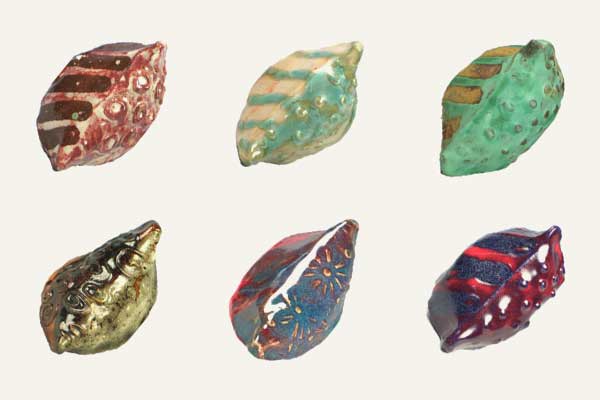

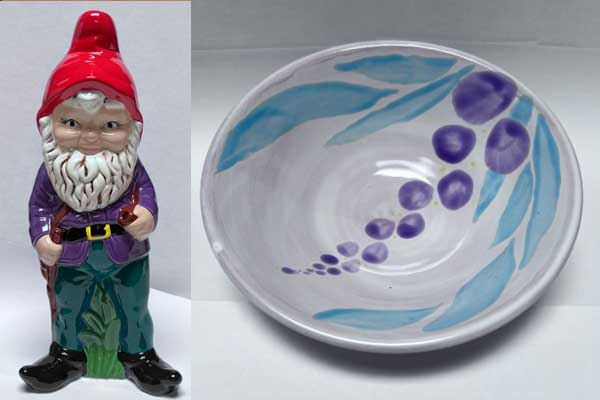
YOU WOULD THINK using a clear glaze would be a “no brainer”, but it’s not! In reality, it is an area in ceramics that generates the most questions and problems for individuals and teachers alike.
Low-fire clay work has a unique criteria to make the glaze work and fit properly. The clay itself, once bisque-fired, becomes a substrate layer for the glaze. The glaze acts like a sheet of glass permanently affixed to the clay. Correct glaze fit begins with the bisque firing.
Your bisque fire must be both slow and accurate. Slow to allow the clay to outgas, ridding itself of carbon, water, sulfur, and (depending on your clay) other organic carry-alongs. If this is not done properly, these inclusions haunt you as they become permanent potential flaws in your work.
The correct temperature for low-fire bisque is cone 04. Using that correct bisque temperature is also necessary! In low-fire ceramics, the bisque “heat-work” is hotter than the glaze firing. This sets up your piece for the correct fit of the glaze to the clay. Underfiring will not allow the clay body to fully shrink, so it stays larger than it should. It will produce a crazed glaze surface, which can’t be fixed.
Glaze firing is best done at cone 05! No-lead glazes benefit from a bit of additional heat. Directions on the manufacturers’ labels say “Fire to a shelf cone 06.” Most of you do not use witness cones on every shelf every time, so you can’t be sure that your pieces have actually and accurately hit that cone 06 temperature. To make sure your firing gets there, adjust your firing to cone 05 at medium speed with no hold time. You will see a brilliant, clear shine sparkling back at you when you open your kiln!
Last but not least, there is the question of application. Clear glazes like and require a lighter approach. They like thin applications. How you achieve that will depend on your glazing style. As a heavy glazer, I like two thin brushed coats. Often I need to thin the glaze to skim milk consistency to do this. However, if you brush and stretch out each stroke, you should keep the glaze as is.
By applying two thin coats cross-hatched to each other, with the first coat applied all in one direction and the second coat at 90° (perpendicular) to the first, you achieve a more even, overall application.
If you have a detailed underglaze application, which may include the ever-tricky “running black,” it’s best to sponge on the first glaze coat. No smears, no runs, no pulls or dragging!
Download PDF